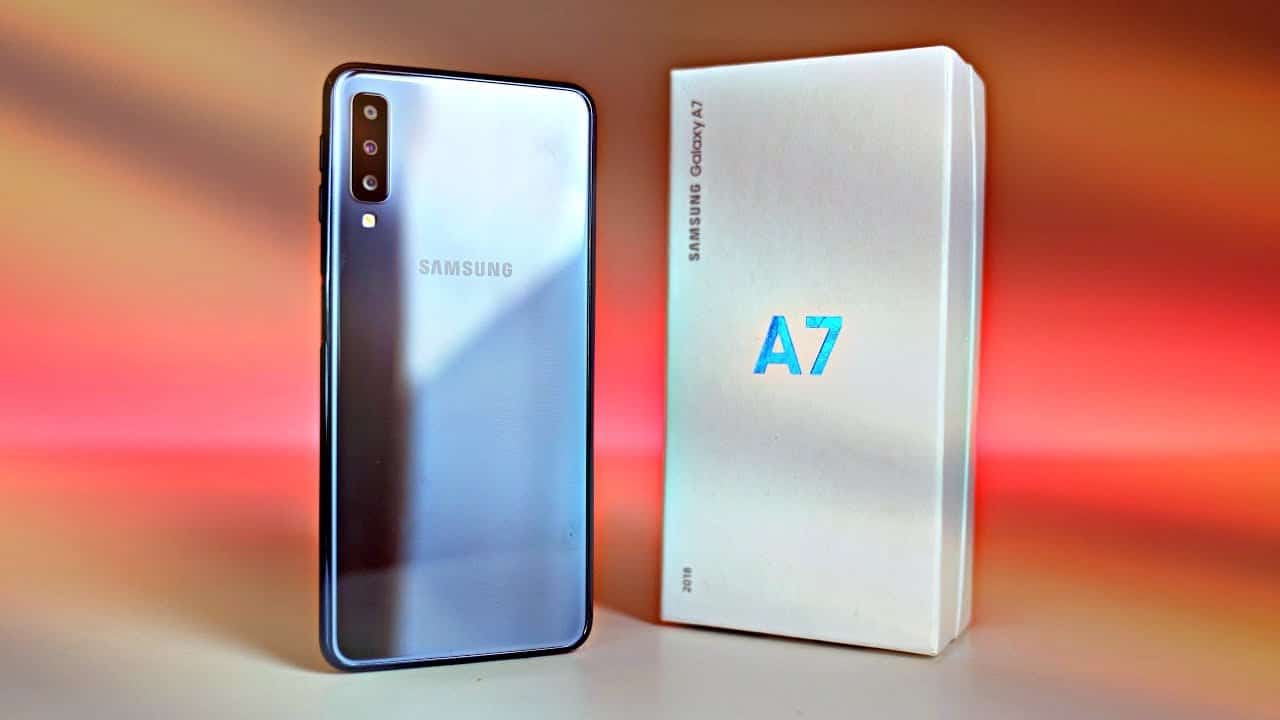
A South Korean tech giant launched the Galaxy A7 2018 smartphone in September last year. It comes with Glass panels on the front as well as a rear side along with the plastic frame. It has 6-inch Super AMOLED display panel that supports 1080 x 2220 pixels of resolution. The Galaxy A7 2018 SM-A750F model powered by Octa-Core Exynos 7885 Octa (14 nm) processor along with Mali-G71 GPU under the hood.
The Galaxy A7 SM-A750F variant is available in 4 GB and 6 GB RAM options. It featured with triple camera sensors on the back side along with LED flash, 24-megapixel main camera, 5-megapixel secondary depth camera and 8-megapixel ultrawide camera. It packed with Non-removable Li-Po 3300 mAh battery. The phone has a fingerprint scanner on the side. It runs on Android 8.0 Oreo operating system out of the box and upgradable to Android 9.0 Pie.
If you have Samsung Galaxy A7 SM-A750F variant smartphone and want root and install TWRP recovery on it, then this article is for you. Here in this article, we will guide you on how to root Galaxy A7 SM-A750F variant and install TWRP recovery on it. Just follow the article step by step.
After installing TWRP Recovery on your phone users can able to install Custom ROM, Kernel, Mods, Root or even backup and restore any ROM.
Remember
We will not responsible if anything happens to your device during these steps. So proceed at your own risk.
PRE-REQUISITES
- Make sure your device charged up to 70%.
- Make sure your device bootloader is unlocked.
- This tutorial is only for Samsung Galaxy A7 SM-A750F (2018). Don’t try it on other devices.
- Make sure to take a complete backup of your device.
- Setup Minimal ADB and Fastboot.
- Make sure you have installed proper drivers on your PC or Laptop for the Samsung Galaxy A7 SM-A750F (2018).
- Enable your device USB debugging and OEM unlock.
DOWNLOADS
- Download TWRP Recovery for Galaxy A7 SM-A750F (2018)
- Download Odin
- Download Super SU.zip
How to install TWRP Recovery on Galaxy A7 SM-A750F (2018)
- Download both Galaxy A7 SM-A750F (2018) TWRP custom Recovery and Odin on your PC/Laptop.
- Now, run the Odin.exe file.
- Now, turn off your phone and reboot it into download mode, press and hold Home + Power + Volume Down buttons Until you see a download mode.
- Now, connect your phone to the PC/Laptop via USB cable.
- After successfully connected, you will see a blue sign in Odin.
- Now click on AP/PDA button and select download TWRP Recovery file.
- Now, got to the options tab and unchecked the re-partition.
- Now, click on the start button and wait for completion.
You have installed TWRP Recovery successfully on Samsung Galaxy A7 SM-A750F (2018) smartphone.
How to Root Galaxy A7 SM-A750F (2018)
- Download the SuperSU zip file from the link mentioned above and transfer it to your device internal storage.
- Disconnect your device from PC or Laptop and reboot into recovery mode.
- Tap on the install and select the SuperSU zip file.
- After installation complete, go back to the main menu and reboot your device.
That’s it, you have successfully rooted your Galaxy A7 SM-A750F (2018) and installed TWRP custom Recovery. If you faced any problem during this process, let us know in the comment section.
